Showing posts with label tutorials. Show all posts

Monday, June 18, 2012

Have you ever seen this before?


In between all the painting I'm doing, I needed to do something fairly easy and relaxing stuff.  I've been thinking of doing this for a long time but did never do anything about it. Now was the right time so I jumped to it.
Actually I once saw this done 30 years ago. A friend of mine was going to be married and her twin brother made the couple a piece like this of the two of them. Since then I have been thinking of trying it myself.

I think this idea can be used in several different ways, I am going to make our son a special gift for his birthday towards the end of the month. I'll use a photo of him from his babydays and one from the kindergarden.  That could be nice I think.
Anyone who remember these two faces I made a year ago? They will be my testing objects.


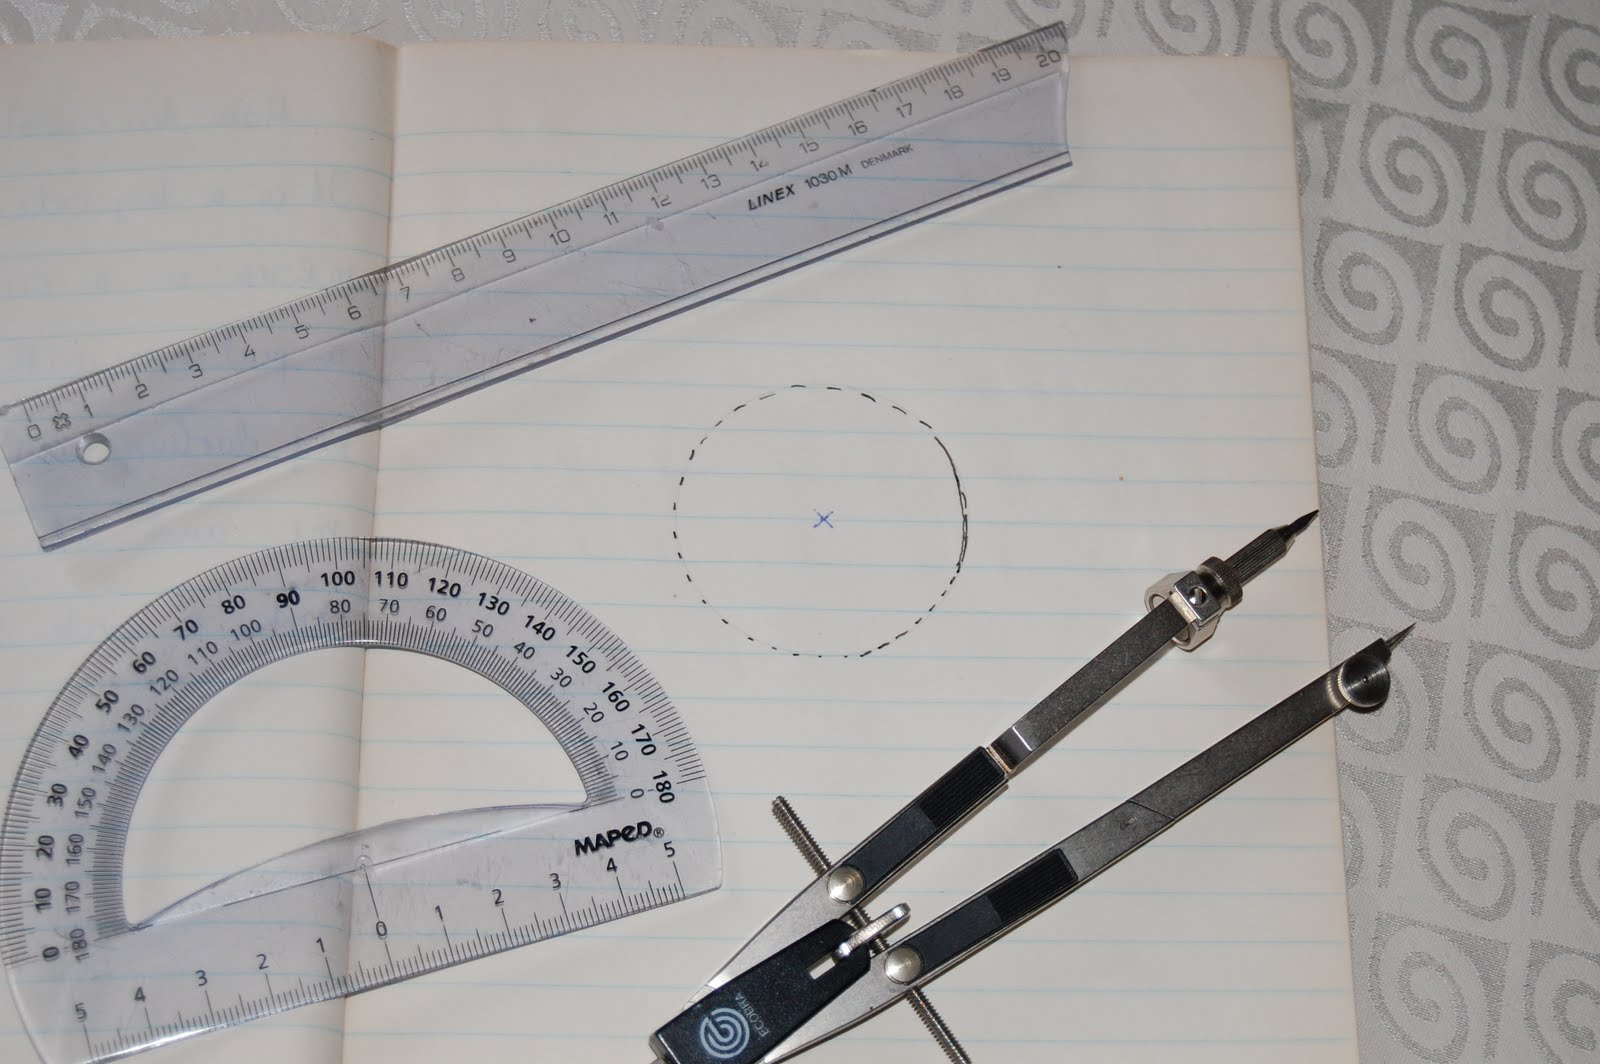
What I did was this : I cut the two faces into equal pieces, width 4 cms. and hight 24 cms. and glued them onto a sturdy sheet. It's important to notice that their eyes are at the same hight. Glue down and let dry. Fold your work like an accordion ( I did this with my papercutter, after I had changed the cutting tool with one that doesn't cut and before I glued the pieces onto the sheet.) and fasten to a new sturdy sheet. Be accurate,  Each of my pieces are 4 cms wide, so I felt it suited to glue every downpointing foldtip 6 cms apart.  Many of you don't operate using cms. Use your own unit of measurement but make a test (copy your photos) first to be sure of getting a good result. Was this understandable? Feel free to ask.

Below you see how it should look, seeing it from the top.


  If you see the result right in front, it looks like this.


If we move to the left, this is what happens.


 Go to the right and the other face will show. Yay, it works....how cool is that! It's so fun to pass it and see it change from one image to another. This would be the perfect artpiece in a long hallway.


This was something I made just to test the idea. Imagine you knew the persons, and if they both were looking a bit towards the middle of the work. That would give the impression that they were looking at each other. I think perhaps black and white photos would be even better if people are the motives.
What do you think? Siblings, Me and Handyman, Sweethearts, your pets or perhaps a couple of artpieces that would mix perfectly together.
 The opportuneties are endless, and I would love to see what you create if you try it.

It's difficult to photograph a piece like this one. You know, there's only one angle that shows the perfect image and you'll need a bit space to move on, to see it. To see it in person is quite another thing. It was fun to make it and it's easy if one are accurate from the start.

There you are, go ahead and try making your own piece.

Thursday, June 30, 2011

My shower buddy.

How I made my shower buddy.

I have been asked to make a post showing how I made my shower buddy, and here it is.
First of all I will recommend you to try pure Tunesian crocheting if you haven't done it before because it will be easier to understand the tecknique then.

I used 21 stitches for my buddy and the pattern need a amount of stitches dividable by 2 + 1.

In my pictures here I've used 11 stitches.

Row 1.
Chain 11.


Row 2.
Pick up 1 stitch in each chain, starting in second from hook.( that should give you 11 stitches on your hook)


Row 3.
Bring in new colour by chain 1 in first stitch.( this count as the first loop)
yarn over hook and draw through two loops (one of each colour) then chain 3 yarn over hook and draw through 2 loops -twice, chain 3 - repeat across.

In the photo below you can see the red "bars" 2 and 2 in pairs. These bars are going to be stitches in next row.


Row 4.
Now it's time to pick up stitches again. (same colour) Always start picking in second bar from hook. Be sure to work behind the 3 chain loops. Work across and count your stitches ( always count) you should have 11 stitches on hook.


Row 5.
Bring in first colour and chain 3. Yarn over hook and draw through 2 loops twice. Chain 3... go on across.

Row 6.
Pick up stitches again starting in second bar from hook.
Repeat row 3 to 6 untill you have the lenght you need.


You are actually crocheting two rows with each colour and always be aware that the "nubs" are made in between the nubs in the former row.

Well, Viki this was made especially for you. I hope you do understand this, if not feel free to ask.

Good luck to all of you.

Sunday, April 11, 2010

Make dull work less dull.


Make yourself a nice dishcloth which will give you a smile on your face. This one certainly gets me smiling, and when positive the dull job becomes a little less dull.
Start by ch 50 (or any number you like which is divisible to 3 + 2 )make sure your chain is not too tight crocheted.


Row 1. Sc in 2.nd chain from hook * ch 3 skip 2 ch and then 1 sc in following ch.* Repeat between marks to end and finish off with 1 sc in last ch. (this will give you 16 - 3 ch loops)


Row 2. Ch 3 and turn. * 1 sc, 3 ch, 3 dc in first 3 chain loop * Repeat between marks to end and finish off with 1 sc in last stitch.


Row 3. Ch 4 and turn. *1 sc, 3ch, 3 dc in first 3 ch loop * Repeat between marks to end and finish off with 1 sc in 4 ch (turning) loop from previous row.
Repeat row 3. untill you have a square, finish off and weave in ends.


Ready for use !!


Tie a ribbon around, and you have a nice little gift.

Abbreviations:
Ch = chain
Sc = singel crochet
Dc = double crochet
Good luck and ENJOY !!!

Saturday, April 10, 2010

How to construct a pentagon

Hi there,
to make a pentagon is a piece of cake after reading this post.
You will need a degree ruler (don't know if that's the correct word but look at the pictures)a compass, pen and paper.
It's a big calculation (at least it is to me)to find the radius in a circle wich will give us a pentagon with sides measuring 3 cm.
My darling husband did this job for me, and the radius must be 2.55 cm.(US 1 inch)
Make a circle that big. Use the ruler and mark 90 deg. from mid point. Then mark 36 deg. to each side of the 90 deg. mark on top.
Take your compass and fit it in between the 2-36 deg. marks. Mark this distance a further 3 times at your circle. Draw straight lines through all marks and VOILA you have your pentagon with 3cm sides.
Look at your figure and imagine a house, you could easily lengthen the "walls" skip the lid and you have made yourself a unik vase.
I will write down the calculation formula wich gives the radius of a circle when side length is given in forehand, for those of you who can manage such kind of magic.
R = side lenght / 2 x sin36 deg. (This is Greek to me. :-)
I believe you all can make a hexagon so I don't mention that. If not ask me.
ENJOY!!!

A little treasure box


This is actually a great idea and it's recycling too.
You will need 2 hexagons and 12 pentagons to make a box like this.
The big one I made out of Christmas cards and for the small one I made my own cardboard. Well "my own" is not quite correct, but what i did was:
I took an old book, coloured some pages (Carand'ache water-soluble art wax crayons) water and a brush and "painted" over the colours.
When dry I made a new layer with a lacquer I got (Ocean lack- from Panduro Hobby) then left it to dry for 15-30 minutes.
When dried, I glued the finished papers onto cardboard. (not too stiff, a little flex is the best.) And voila, ready to make your geometric figures.

Make sure that one of your hexagons is double sided (the lid, and it will show off.)
Make your figures and cut them out. (I used 3 cm radius for the small one, the Christmas box has the dubble)
When cut you have to mark the holes. Don't be to near the edge (it's paper, remember?)
I prefer to mark the corners first and then those in between. On this
small box I use two marks
in between the corners.
I'm using an awl to make the holes but a pair of leather tongs could also do the job. It is important to be aware of the edges, it's very quick to ruin one of your ready made figures.
Well when finished marking, you have to choose what yarn to use. Consider the size of the box compared to the thickness of your yarn.(I did not do that. My yarn was the starter of this creation and THIS was the size I wanted to make. Stubborn me. My yarn is a little too heavy for this cute little box)
Now, start crocheting. I prefer to start at the hole next to a corner,and I single crochet 1 stitch in each hole and 3 stitches in each corner. And that's it. Weave in all ends, and you're ready for sewing together.
I don't know if you can see it, but I am lefthanded and therefor it seems that I'm crocheting the wrong way, in fact I am, compared to right handed people but do it
your way.
Now, join the first 6 pentagons together in a ring, and then the bottom hexagon. The first pentagon in the next row is sewn at two edges (always a point down) the next one and the rest of them, are sewn at 3 edges. Be careful when sewing at the top (opening of the box) and look for a tight joining. My lid became a little too small for the opening, but I just crocheted another pointy edge at the end. The last thing to do is to sew the lid onto the box. On my Christmas box I used a button and made a loop but this one I left as it was.

Originally I had a picture of the small blue box here but I did something stupid and it disappeard.


Well then, here you are, feel free to use this idea in what way you want.
I intend to make 2 or 3 more of these because I'm planning a garden party this summer and these boxes will be part of my table decoration.
I would love to hear your comments AND see your results. ENJOY !!!