Saturday, March 29, 2014

Friday Sketching

My kitchen table didn't show anything interesting, so I have chosen to sketch a part of my kitchen instead.
What you see is where I cook our food, baking cakes and so forth. The house we live in is a hundred year old beauty, which we've restored. We've kept the intire house as close to the origin as possible. We did find some original kitchen parts, but they couldn't be of any use. 
As you see below, or actually you won't be able to see it, I have chosen to hide the ventilator behind a tiny curtain. At first I frightened it would be very fatty in a short while, but it works fine. 


My kitchen is a very small one, but we have all we need, and all the modern equipment have been embedded. 


Even though each room is quite small, it doesn't feel that way because of very high celings. All over the house we have lots of beautiful details, the carpenters, back then, worked in a completely different way than today.


Well, that's all I had for you today, enjoy your weekend!

Friday, March 28, 2014

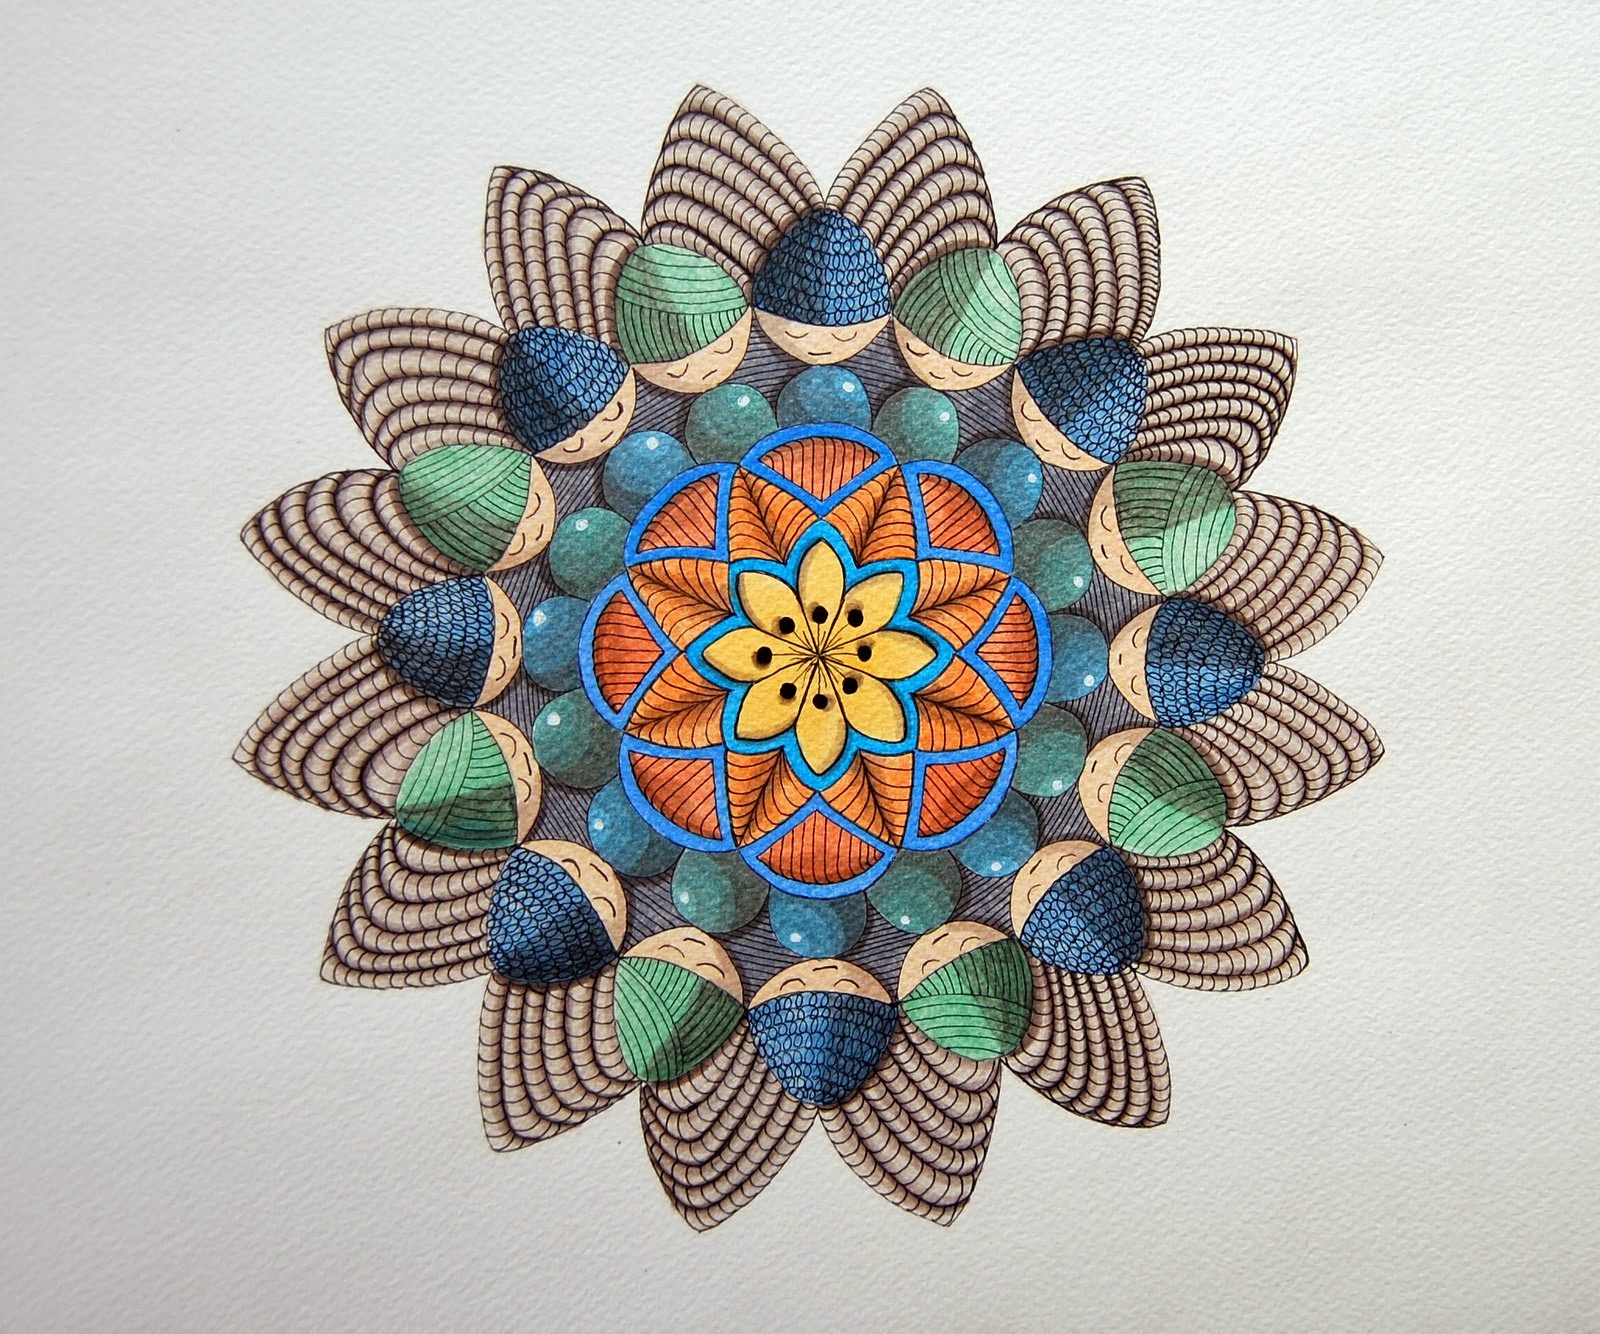
Have you ever made a mandala?

I often make mandalas,

but this one isn't new. Do you have a certain way of doing them? From where do you get the inspiration to do one?
Most times I just sit down and make them. Sometimes I've made some for friends and that is always a challenge, I'll try to make them personal and fit the situation given. The one I show you today were inspired from the morning radio news. They were talking about how to get the youths, that are finished school, an apprenticeship. Too few companies are willing to hire an apprentice, and that's too bad. How on earth can the youths start working if no one are willing to give them a chance?
This was what inspired me, and I called my piece: Learning before flying.


I always start to draw my mandala, I don't use a compass any more, but I like to draw help lines. Top to bottom, side to side and both ways diagonal. That gives me the center and I have eight lines to work from. Any pointed star or flower have their points measured from the center, the rest is free handed. The above photo shows a finished drawing.

Next step is to get some paint down, and while painting I might prepare for later steps by adding some darker spots (shadows). In this particular one I used Neocolors 2 for painting. It is at this point all the fun starts, for me.


The pen work is what gives the final form to all  the elements used. I always try to be as accurate as possible to achieve the best result. Often there will be contradictions, and I'll have to think over again. But that's part of the fun.


Last step is the shading, and the shading is what lifts my subjects from the paper. It always thrills me to see a successful work rising from the paper and people always, without exception, want to touch it to assure themselves that it really is flat.


Thank you for visiting, I hope you enjoyed it and happy PPF everyone!

Monday, March 24, 2014

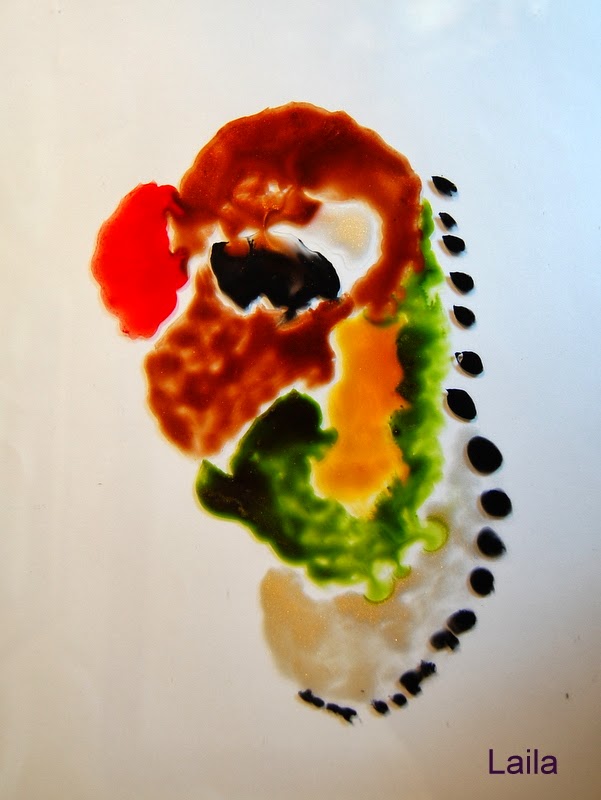
Paint blobs as tools.

Many times if I can't find inspiration,

I have a little trick to get my mojo flowing instantly. Some years ago I got the inspiration for this by watching all the you-tube films showing mono printing on gelli plates. Now, I didn't have a gelli plate handy, but I had a glass square. I did some experiments on that glass plate, and boy did that pay off. Most times I even do a second print, after spraying a bit more water onto the plate. The second print won't be as rich of colors as the first one, but many times more interesting. Normally I use watercolors to make my paint blobs. Below is the glass plate randomly filled with watercolor paint, Twinks.


Next thing is to lay the paper carefully on top of the paint. I use my hands to go over the paper, and I often add some books on top for a short while. In this specific example the result was what you see in the photo below. It's at this stage all the fun begins. Some of my paint blobs shows quite obvious images, others might hide well. In this particular case I spent a couple of days to bring forward what was hidden. Very often I reject the first obvious image to see if I can bring out it's full potential.


I'm very pleased with this one, and as you see it wasn't the most obvious image. When I first spotted the troll, I could also see (with a bit imagination) the contours of the map of Norway. To use the map, shows the troll in it's "real" size. A "real" Norwegian troll is very large. He is banging his hand towards our country, and thereby causing some real thunder. As a child I were frightened by thunder, but my parents told me it was just the trolls that were out strolling. Somehow that left me without fear.


Let me end by telling you my little trick. I always keep some paint blobs handy, and when I can't find inspiration I grab a paint blob, and my mojo is instantly present.
Give it a try, it's very fun and activates the imaginationn.

Friday, March 21, 2014

Friday sketches, sliced fruit.

Banana, handymans favorite fruit.


I was so glad to see this weeks challenge were sliced fruit. I knew I had bananas, so I would use one for inspiration. That was what I thought, but handyman had eaten the last one for breakfast this morning. Therefor, my sketch is improvised.


I used ink for sketching, and water to to let the ink bleed a bit but it doesn't show much in the photos. I've never liked messing up my pieces, but I can feel my resistance against that fading away. I made another sketch yesterday, much more messed up and I really liked it.


I'm so excited these days, my brand new set of Sennelier aquarel paints are on their way to me, and I can hardly wait for them to arrive. I've only had some old pan watercolors that aren't much good.


I'm so happy for this Friday sketches challenge, it makes me sketch alot more. I've even found myself thinking, oh, I'll have to sketch this. And also, I use my sketchbook to try out things I'm going to make in the future.


It has always been hard for me to make backgrounds in my paintings, but I find that's much easier too. The sketch book allows every entry, and there's nothing to be afraid of.

Find your sketch book and join this challenge you too.

Trying a new substrate.

In fact I have used brown paper earlier,

but not as a substrate for watercolors/ Twinks. I know it's not acid free and all that stuff, but it's not likely I will become a Rembrant either. I love a rough surface, so I thought of trying this one. What I did was to wrinkle up the brown paper and smooth it out, several times, to achieve a softer and much more textured surface. I used my iron on the paper before I anchored it to a 140 lbs watercolor paper. Below you see my starting point.


First thing I did was to put some paint to my paper, just to have something to start with. When I saw what my paint did to the paper, I truly had my doubts. Would the paper dry back to the surface I spent time to make, or would it all be messed up. Of course it would dry, but what about the wrinkles?


To my big surprise, it dried back to the surface I had prepared. Isn't that a bit strange? In wet condition, all the wrinkles were gone but they revived. I am, of course, happy for that it's just that I don't quite understand it. Below is my piece with paint and dry.


I had been sketching this beautiful old house with a tower and a conservatory and everything was very nice, but I had difficulties transfering it. I ended up sketching a new house which was very easy to transfer. Stright lines only. I used a nib and ink to strenghten the lines at the end. This is how it looked like.


Now, the painting is the fun part so it's just to turn the brushes. The house first, and the same thing happened over again, the paper lost all the wrinkles, and it looked scary. With the house done I left it for drying and all went well. I did it all in parts and let dry in between, and voila........ finished painting.


It was very hard photographing this process, because the wrinkles caught too much light, you know, I used the Twinks for paint. Just a tiny bit penwork and it was done.


Not too bad result, and I learnt a lot during this fun experiment.

What was your last experiment?

Tuesday, March 18, 2014

Light, does it matter?

I did a fun little experiment with light the other day.

What does light have to say for the expression of a piece of art? We all know that light matters, but can light turn a specific mood into a completely different mood? Yes it can.

I used a card to paint a rainy scene, it was a rainy day here, so I guess I was inspired by that. I actually drew this quite fast, so it's no masterpiece. It's a cabin situated by the sea/ fjord.  It sits on the bedrock and pretty close to the ocean. Now, imagine you were in the cabin looking out at the rain, what feelings comes to mind? Probably, oh well, it'll soon pass.


If you look at the next photo, what feelings would appear then? Do you recognice the change in mood in the photo? Much darker, more depressing and the question, will it ever stop?
I have to say, I never gave this issue serious thoughts untill I made this card. The actual card has colors somewhere in between these two. It's very interesting doing small experiments like this.

The diagonal "wet" drops/lines are made by a far to big brush. They should've been much finer. I was hoping to be able to actually rip marks in the surface along the drops/lines, to make it look alot more like actual rain.


Now, I wasn't because my piece had been drying too much. I think the surface should have been wet, or at least damp.
What was your last experiment?

Sunday, March 16, 2014

A study in form

The other day

I tried my hands on giving form to a subject using dark, light and one color only. I ended up using three green colors, but only tiny drops of two of them.
I lightly sketched my subject using a green watercolor pencil, that's all. After sketching and some work with the paint I had a piece looking like the one below. The peas look much greener in this photo, it's the light used only that makes the difference. Still a lot of work to do.


I kept working. while I could hear the teacher in a class I'm taking say, take your time. I took my time, and it sure paid off. Instead of leaving the background without paint, I chose to add some blue color as you'll see below. Why I didn't think of making the blue color with stright lines is a mystery. Note to self, always think while working! Well, so far so good.


Next step was to add highlights and shadows, and boy did I do that! I simply ruined my entire work. White and gold pens used in a generous amount. And then the shadow, failure as well. At this stage I had to take a looong break. Notice that I even signed it before I realized my failure. Oh my! I have no clue where my mind was while doing this, but apparently it was not with me. In this writing moment there's a text line from Pink Floyd coming to my mind.........."there's someone in my head, but it's not me..."

During the break, I realized my work was ruined so it wouldn't matter if I did it completely. I therefor decided to try a rescue maneuver, new failure would not matter on top of a ruined work.


I actually was able to fix most of it, and the end product came out pretty well, if I might say so myself. I used water and paper towel to remove as much of the white pen as I wanted to, added a darker blue in the background, which works even better than the first one, strightened up the lines and then added my shadows using charcoal. All in all it was a great work session, containing lots of learning for me.


This piece measures 15 by 15 cm's and was done on a hand made paper, and this time I let my sign be.

Thanks for popping in!